Polka Dot Nails: Dot Size, Placement, and Color Ideas
Polka dot nails can look bold, classic, or barely there. I walk through dot size, spacing, placement, and color contrast with real sets from my studio.
Published:
By Kim Le at Polished by Kim
Polka dots sound like one design, but on nails they cover a lot of ground. A few tiny white dots on a milky base barely register from across a room. Red dots on white are the first thing anyone notices.
The dot itself is not what changes. What changes is how big the dots are, how far apart they sit, where on the nail they go, and how strongly their color stands out from the base. Those are the four things I'd ask you about, so here is each one with real sets from my studio.
Dot size sets the mood
Small dots read as texture. Larger dots read as a pattern. That is the main difference between a set that looks delicate and one that looks bold, even when the colors are identical.
Size is also relative. A dot that looks small on a long almond nail can fill a surprising amount of a short square one, so I think about dot size against the nail in front of me, not against a photo of someone else's hands.
Spacing decides calm or busy
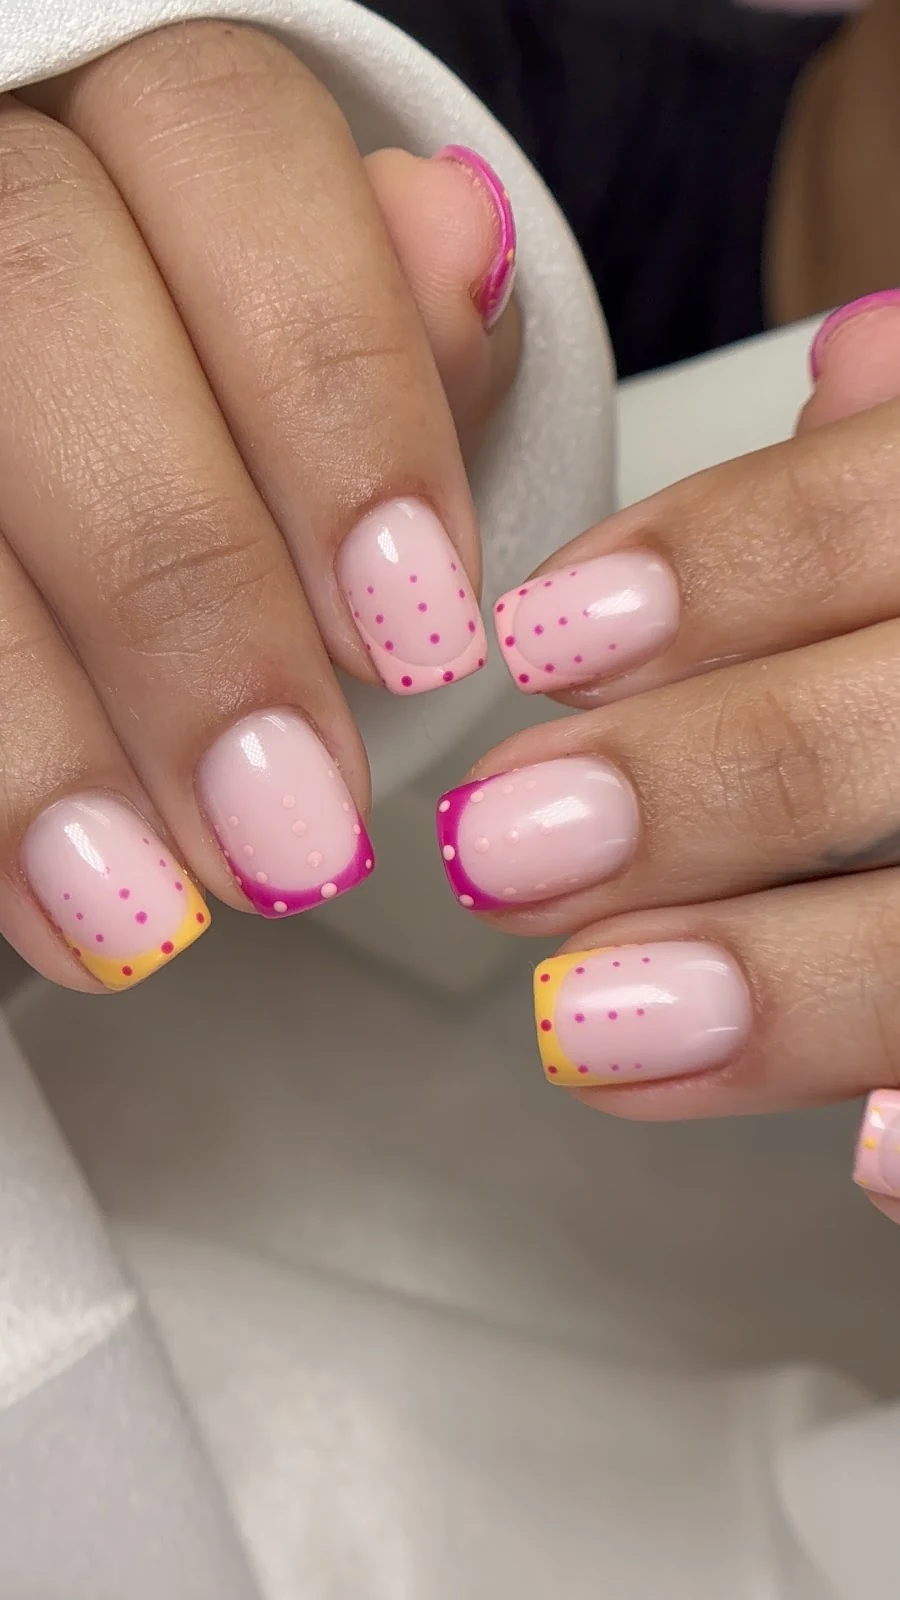
Evenly spaced dots, lined up in rows, look orderly and classic. The short square set in the visual guide above is a good example: every dot has the same amount of room around it, which is what makes it read as polka dot at a glance.
A looser scatter feels more relaxed, and the more bare base you leave between dots, the quieter the result. If you like dots but worry they will feel like too much, more space is usually the first thing I'd change, before size or color.
Where the dots go on the nail
Dots do not have to cover the whole nail. Three placements show up most in the sets on this page.
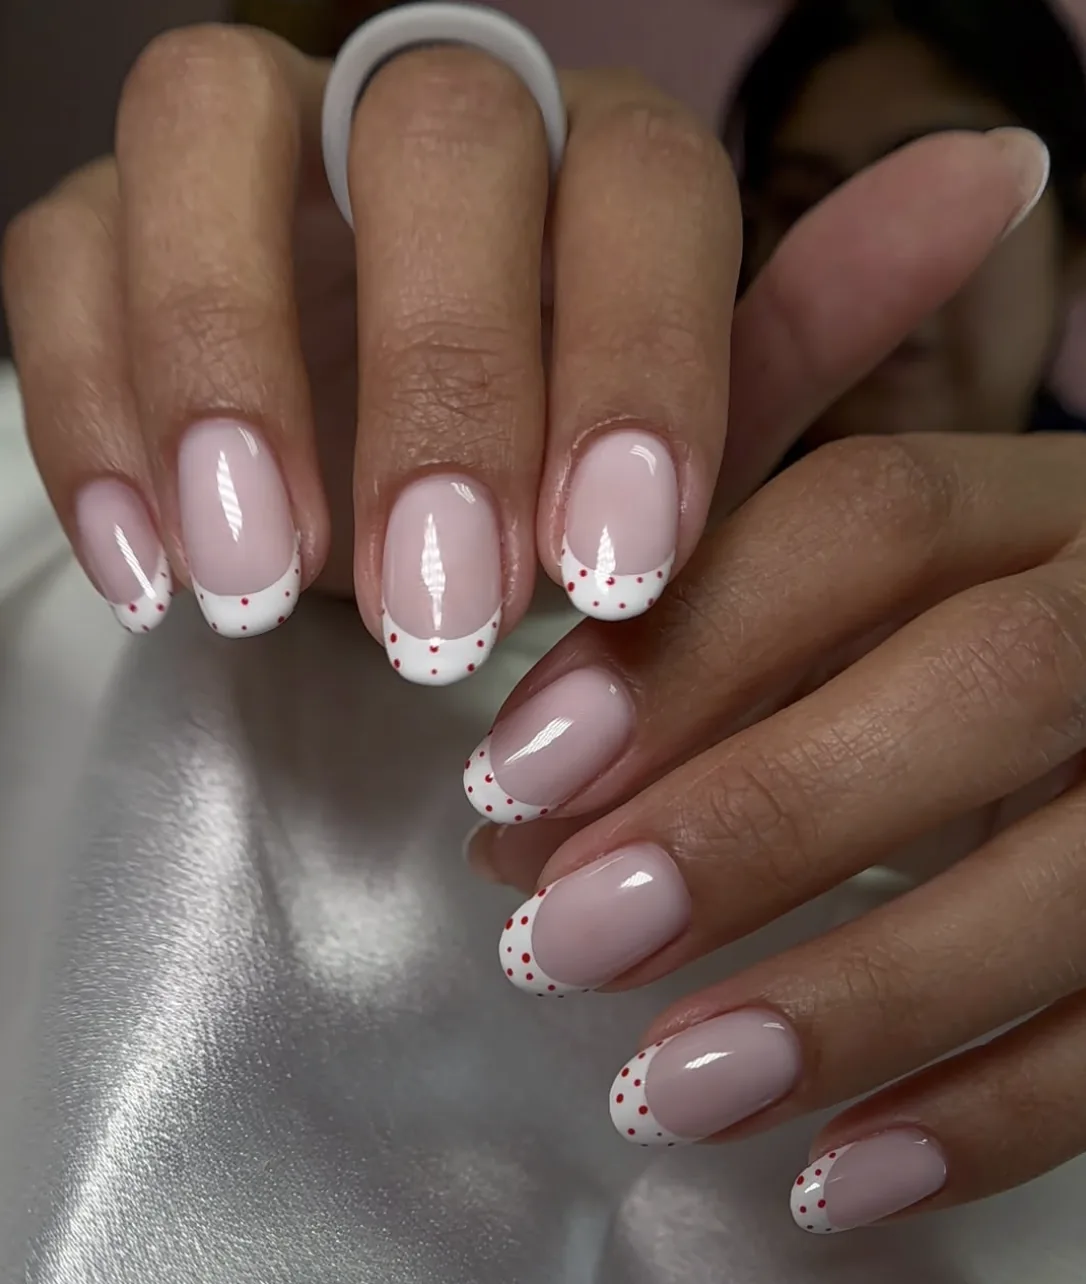
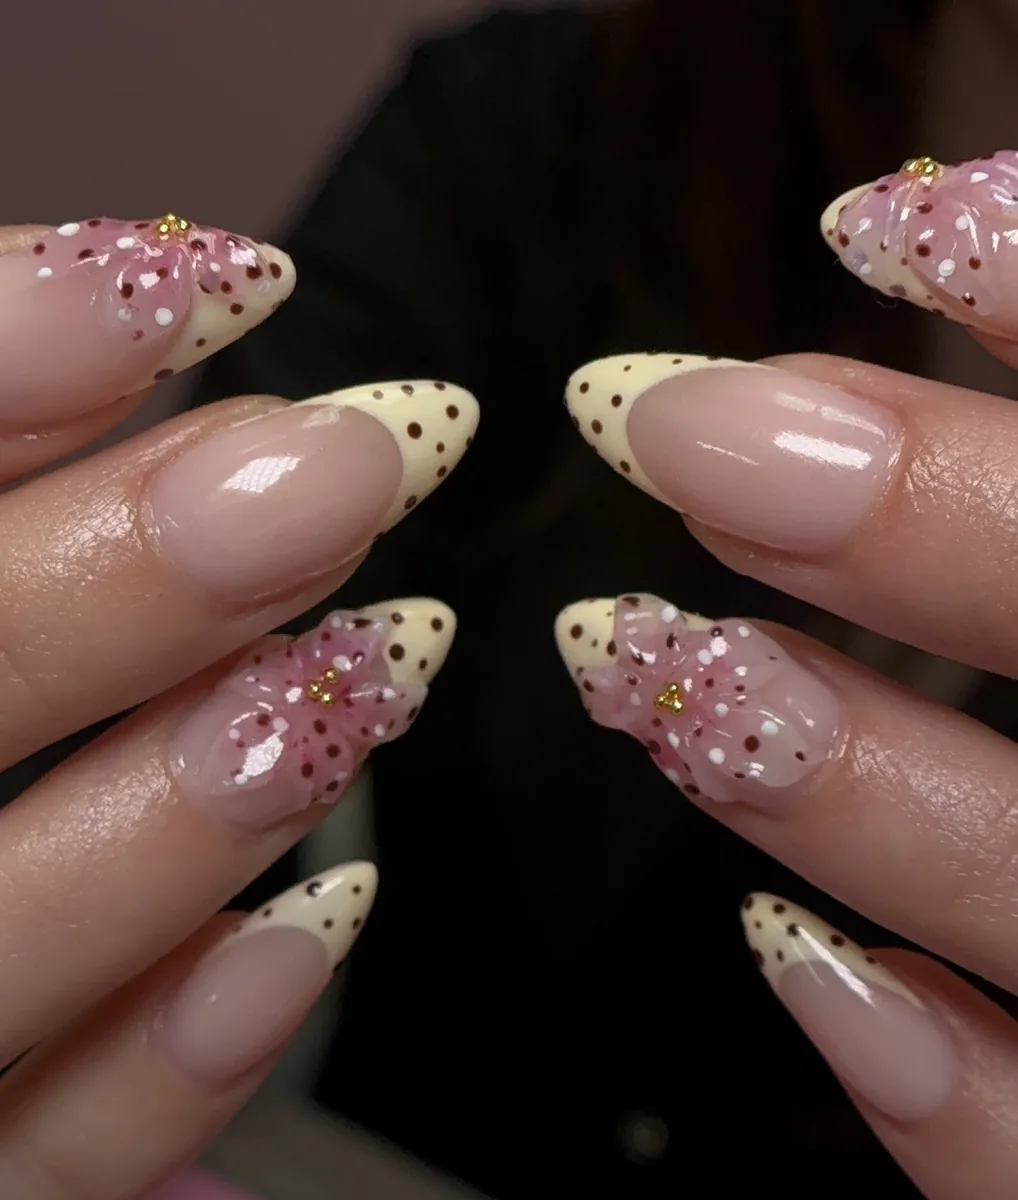
On a French tip. The dots sit on or along the tip and the rest of the nail stays clean. It keeps the structure of a French and adds one small detail. If you are still choosing a tip style, the modern French manicure guide covers the options.
All over. The full polka dot look, from cuticle to tip. This is the placement where size and spacing matter most, because there is nothing else on the nail to balance them.
On one or two accent nails. The other nails stay a solid color, and the dots appear only where you want the eye to land.
Contrast is the volume control
How much the dot color differs from the base decides how loud the set is. The photo at the top of this page is the high end: deep red with white dots on one hand, white with red dots on the other. You can see every dot from a distance.
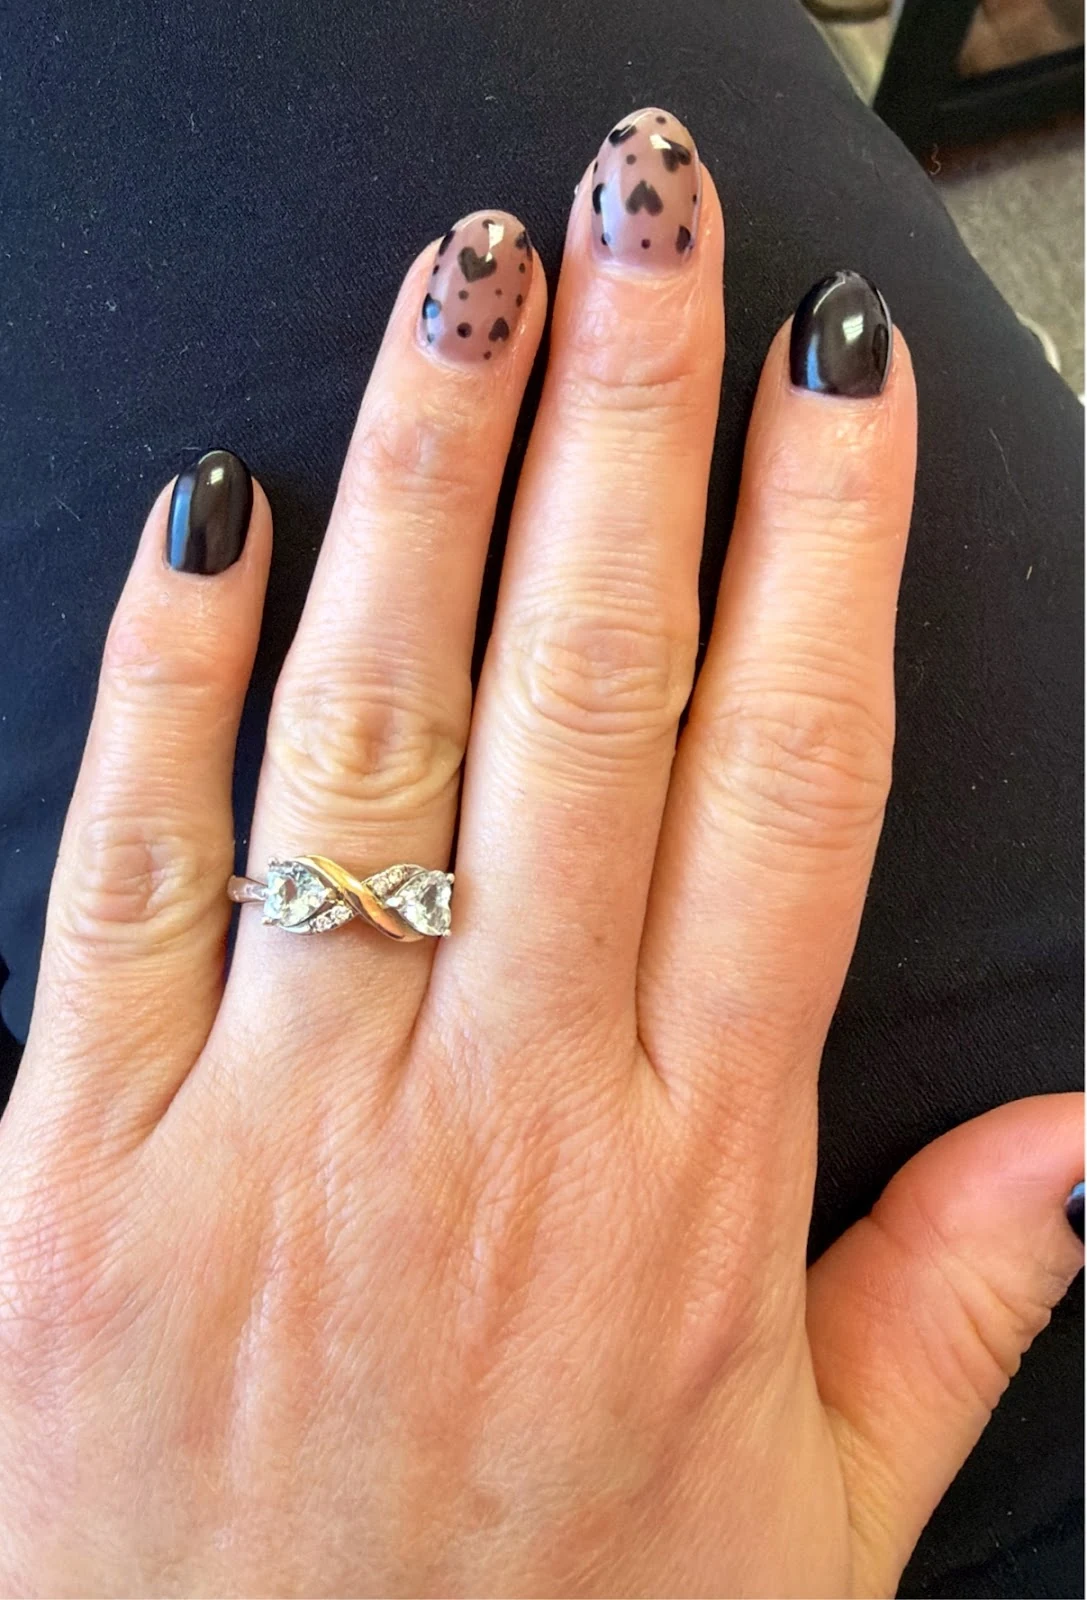
At the other end, white dots on a milky base are close enough in color that they only show up close. It is the same idea with a very different effect. Black on a sheer nude sits in between: clear, but softer than red and white.
Photos are a guide to contrast, not exact color swatches. Screens and lighting shift colors, so we'd confirm the actual shades in person.
Dots alongside other art
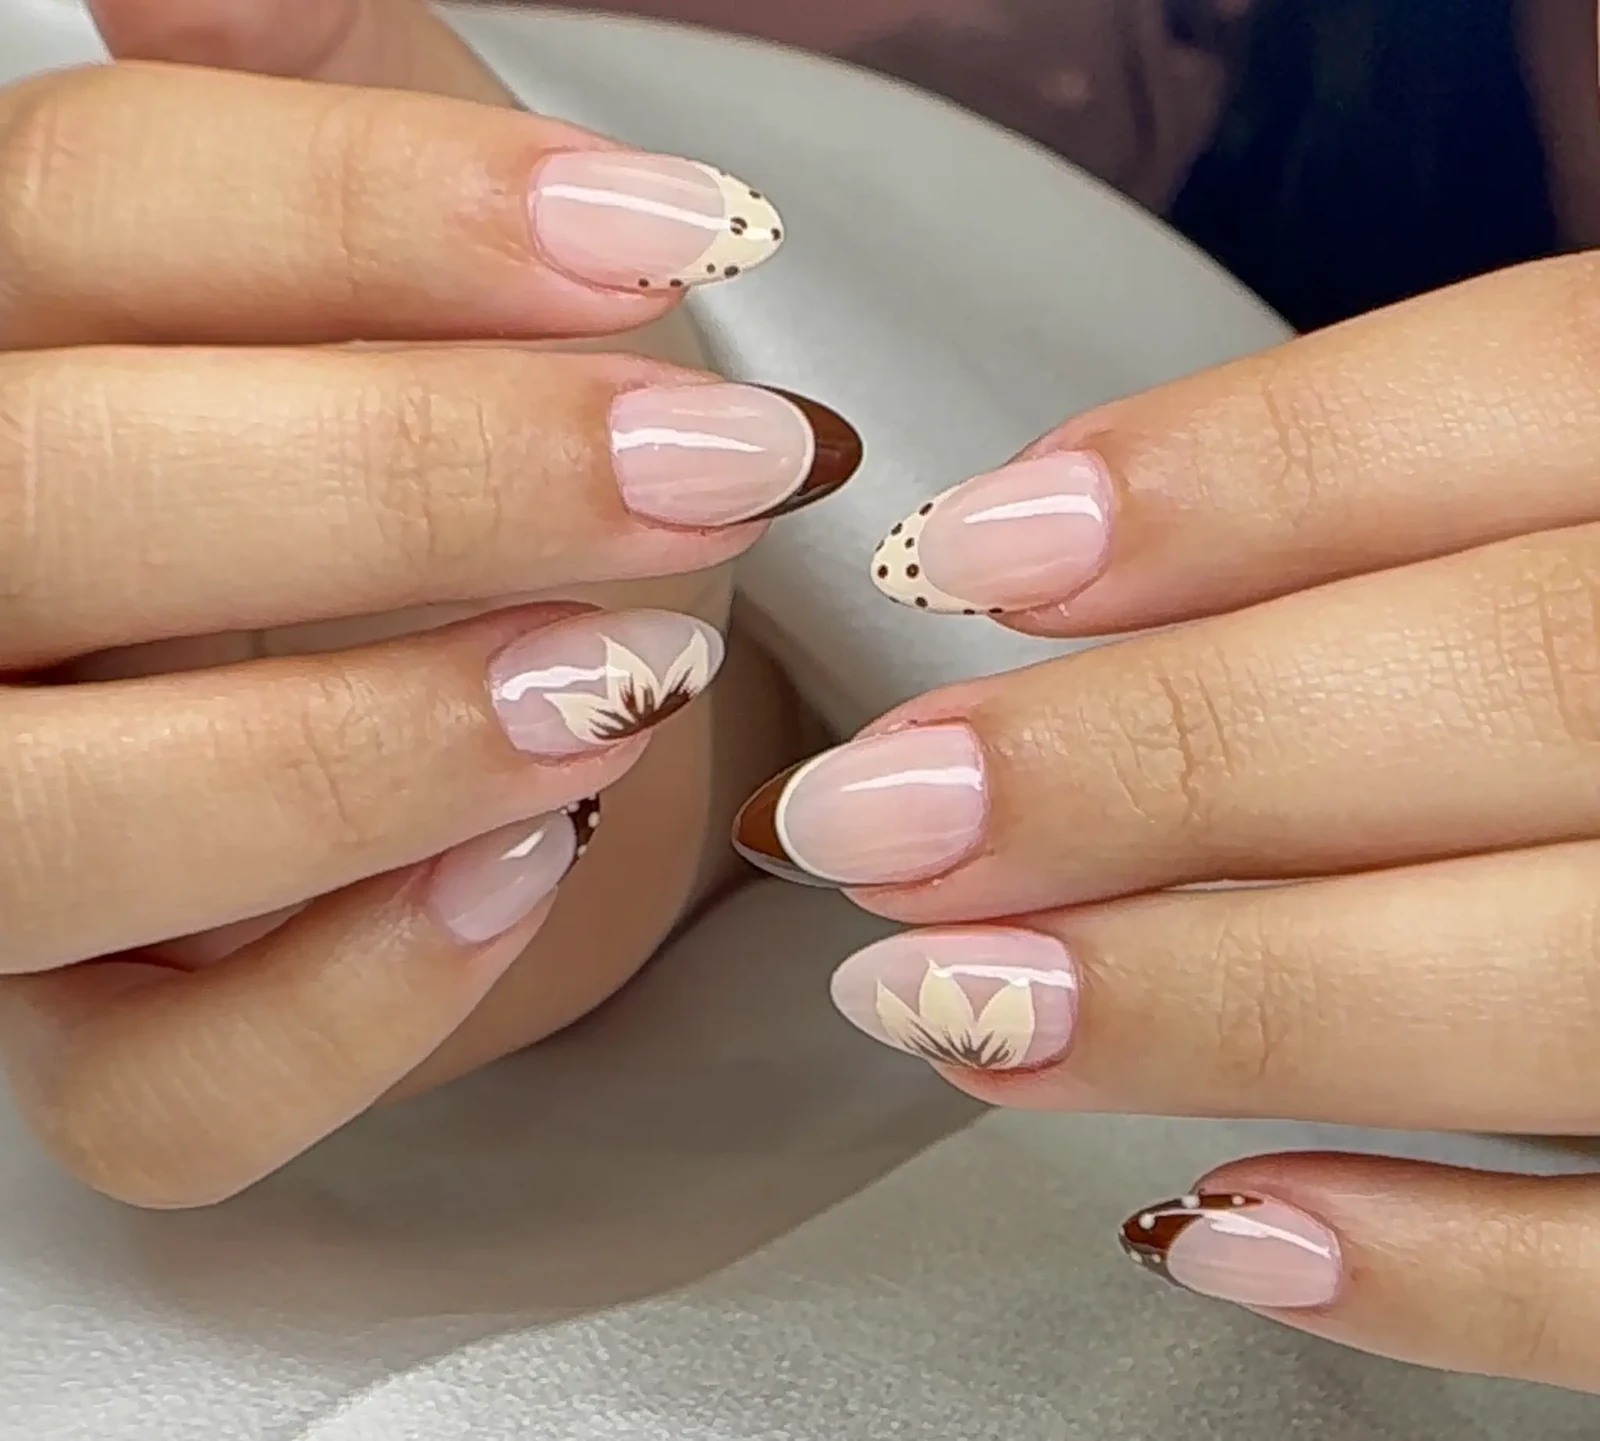
Dots are easy to combine with other designs because they are simple. They can fill the space around a flower, sit on a tip beside 3D art, or become part of a picture, like the spots on the ladybug set in the visual guide.
The thing to watch is how many ideas share one nail. When dots join florals or fruit, I keep some nails plain so the detailed ones have room. The mix-and-match guide goes further into balancing several patterns across a set.
Dots on short nails
Dots are one of the designs that do not need length. Several sets on this page are short: the square set with red dots in the visual guide, the short square set with micro dots, and the reel above, which was done on short natural nails.
On a shorter nail I'd lean toward smaller dots or fewer of them, simply because there is less room. A dotted French tip can also work on a short nail, as long as the tip itself stays slim.
Planning your own dotted set
It helps to arrive with answers to the four questions: how big, how far apart, where on the nail, and how much contrast. A saved photo answers most of them at once, and the inspo gallery has more dotted sets to look through.
Dots are nail art, so they are added to whichever service you book, including a Builder Gel set. Use the current booking menu for service details.
If you are not sure which version of polka dots is yours, bring a reference or two and we'll work it out at the table. You can book with me at my private studio in Spring, near The Woodlands.